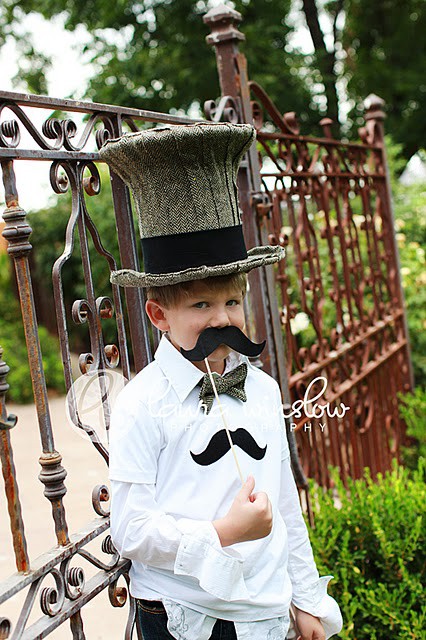
Here it is friends...my first ever tutorial! I've been dying to make a mustache t-shirt for my guys so I thought I'd document the process as I go along. If you've never appliqued before, you have to try it. Trust me, you'll be hooked. You can add so much character to a basic little shirt or hoodie and appliqueing is perfect for covering a stained but otherwise great t-shirt. This particular pattern is great for the beginner. It took me about 30 minutes from start to finish - if this is your first time, give yourself about an hour.
What you'll need for this project:
- A plain t-shirt
- Black felt or black fabric (if you use felt, I recommend a high quality felt such as Eco-fi or wool blend felt. Avoid regular craft felt as it won't hold up in the wash).
- Fusible webbing (Heat n bond, Steam a Seam, etc. I use Heat n Bond but whatever you can find at your local craft store will work)
- Black embroidery floss
- Pencil
- Needle
- Scissors
- Iron
- You can draw your own mustache or use the template below. Just click and save it to your computer.
Since I use Heat n Bond, my instructions will follow Heat n Bond's instructions. If you are using a different fusible web, simply change out my instructions with the instructions on the package. If you have any questions, don't hesitate to contact me and I can help you.
The first thing you'll want to do is take your mustache template and place it under a sheet of your fusible webbing. Take your pencil and trace your mustache on to the webbing so it looks something like this:
Next you'll want to iron your mustached webbing onto your felt or fabric. For Heat n Bond, set it on the "wool" setting (NO STEAM). Iron the design onto the felt or fabric for about 3 or so seconds so it looks like this:
Then cut the mustache out.
Take the mustache and peel off the wax paper layer of the fusible webbing.
Place the mustache exactly where you want it on the t-shirt with the glossy/fusible webbing side face down on the t-shirt. Iron the mustache on to the t-shirt pressing for about 10 seconds. Again be sure to use the wool setting with no steam. Check to be sure that the applique is firmly adhered to the shirt.
Now that the mustache is attached to the t-shirt, you're ready to start the applique process. You can do this with a machine or by hand. I'm a hand stitcher - I find it very relaxing and therapeutic. To stitch by hand, cut about 3-4 feet of your black embroidery thread. Your skein of thread will have six strands. Separate two of the strands from the piece you've cut and thread them through your needle.
For this t-shirt, I use a straight stitch. It's a basic stitch and great for a beginner. You basically bring the needle up through the t-shirt and back down making straight little stitches about a 2-3 cm in from the edge of your mustache. A great video tutorial for the straight stitch is available
here. The nice thing about sewing black thread on black felt or fabric is that it's hard to see so it's very forgiving if you're a beginning stitcher. You can see what my stitches look like on the inside of the t-shirt:
Once you've finished stitching the t-shirt, you are done!
The sky is the limit now. Take the same principles and create a whole new wardrobe for your little one with numbers, initials, animals, etc!


